
As a kid I wore homemade clothes. My Nanny was a knitter, so much so we called her Nanny Wool. My aunt sewed and knitted and my Mum still has some of my baby clothes she made for me. I love it.
So this year I’ve decided to try and make my own clothes. And for my daughter too.
I recently had a huge wardrobe clear out, 2 kids later and things don’t fit like they used to. But I hate wasting things so I’ve just ended up moving them to a box to someday do something with them.
My Pinterest board is bursting with ideas but I have no idea where to start. So I made this skirt instead.

Tutorial.
Grab these items and a large piece of fabric of your choice!

1. To make the pattern you’ll need a large piece paper, if you don’t have any just tape some together! Draw a vertical line then a horizontal one with a 90 degree angle. 
2. Measure your waist, where you would like the skirt to sit. Using the chart below work out the measurements needed.

To draw the radius number I tied a piece of string to a pen and measured the length required, held it on the corner and drew the arch.
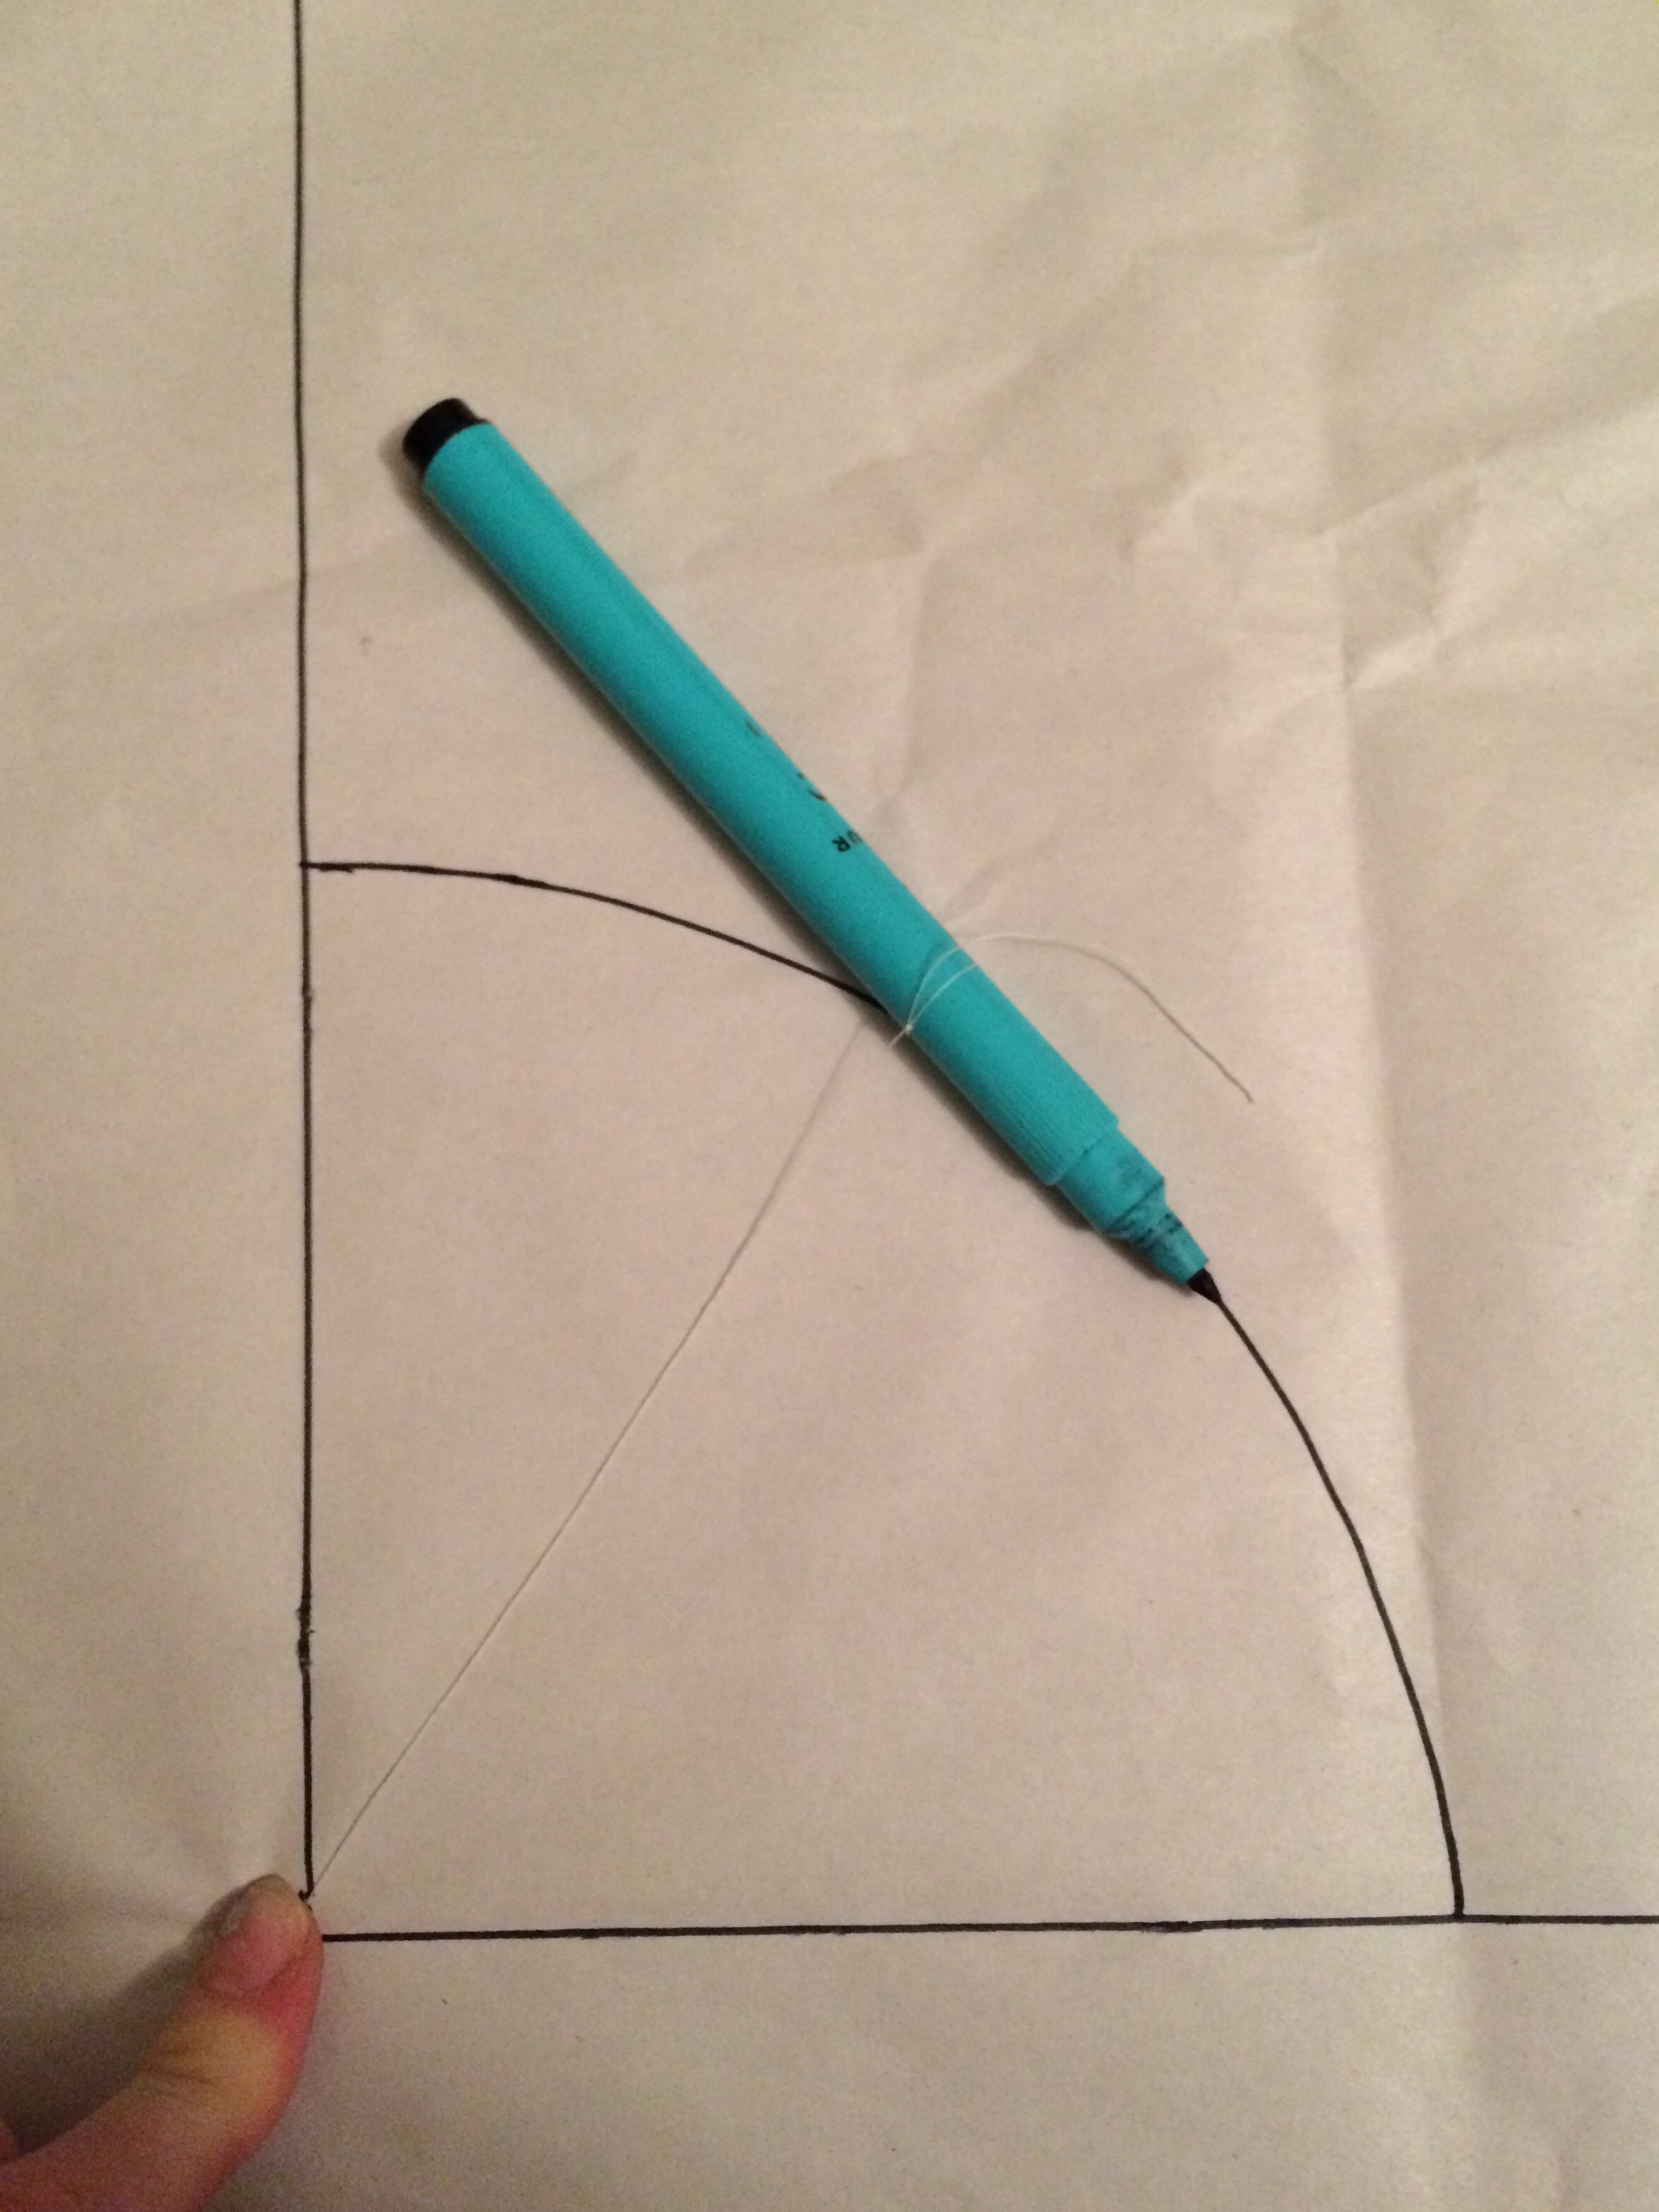
3. Next measure the length you’d like your skirt, adding half an inch for hemming. Tie another piece of string to the pen and measure the length, starting again at the corner draw another arch.

4. Cut out the paper pattern as below. Fold your fabric in half from the bottom up, and from left to right. When you lay your pattern on the fabric you should have each straight edge along a fold.

5. Pin the pattern to the material to stop it moving about and cut it out. Open out your cut material and it should look like this: 
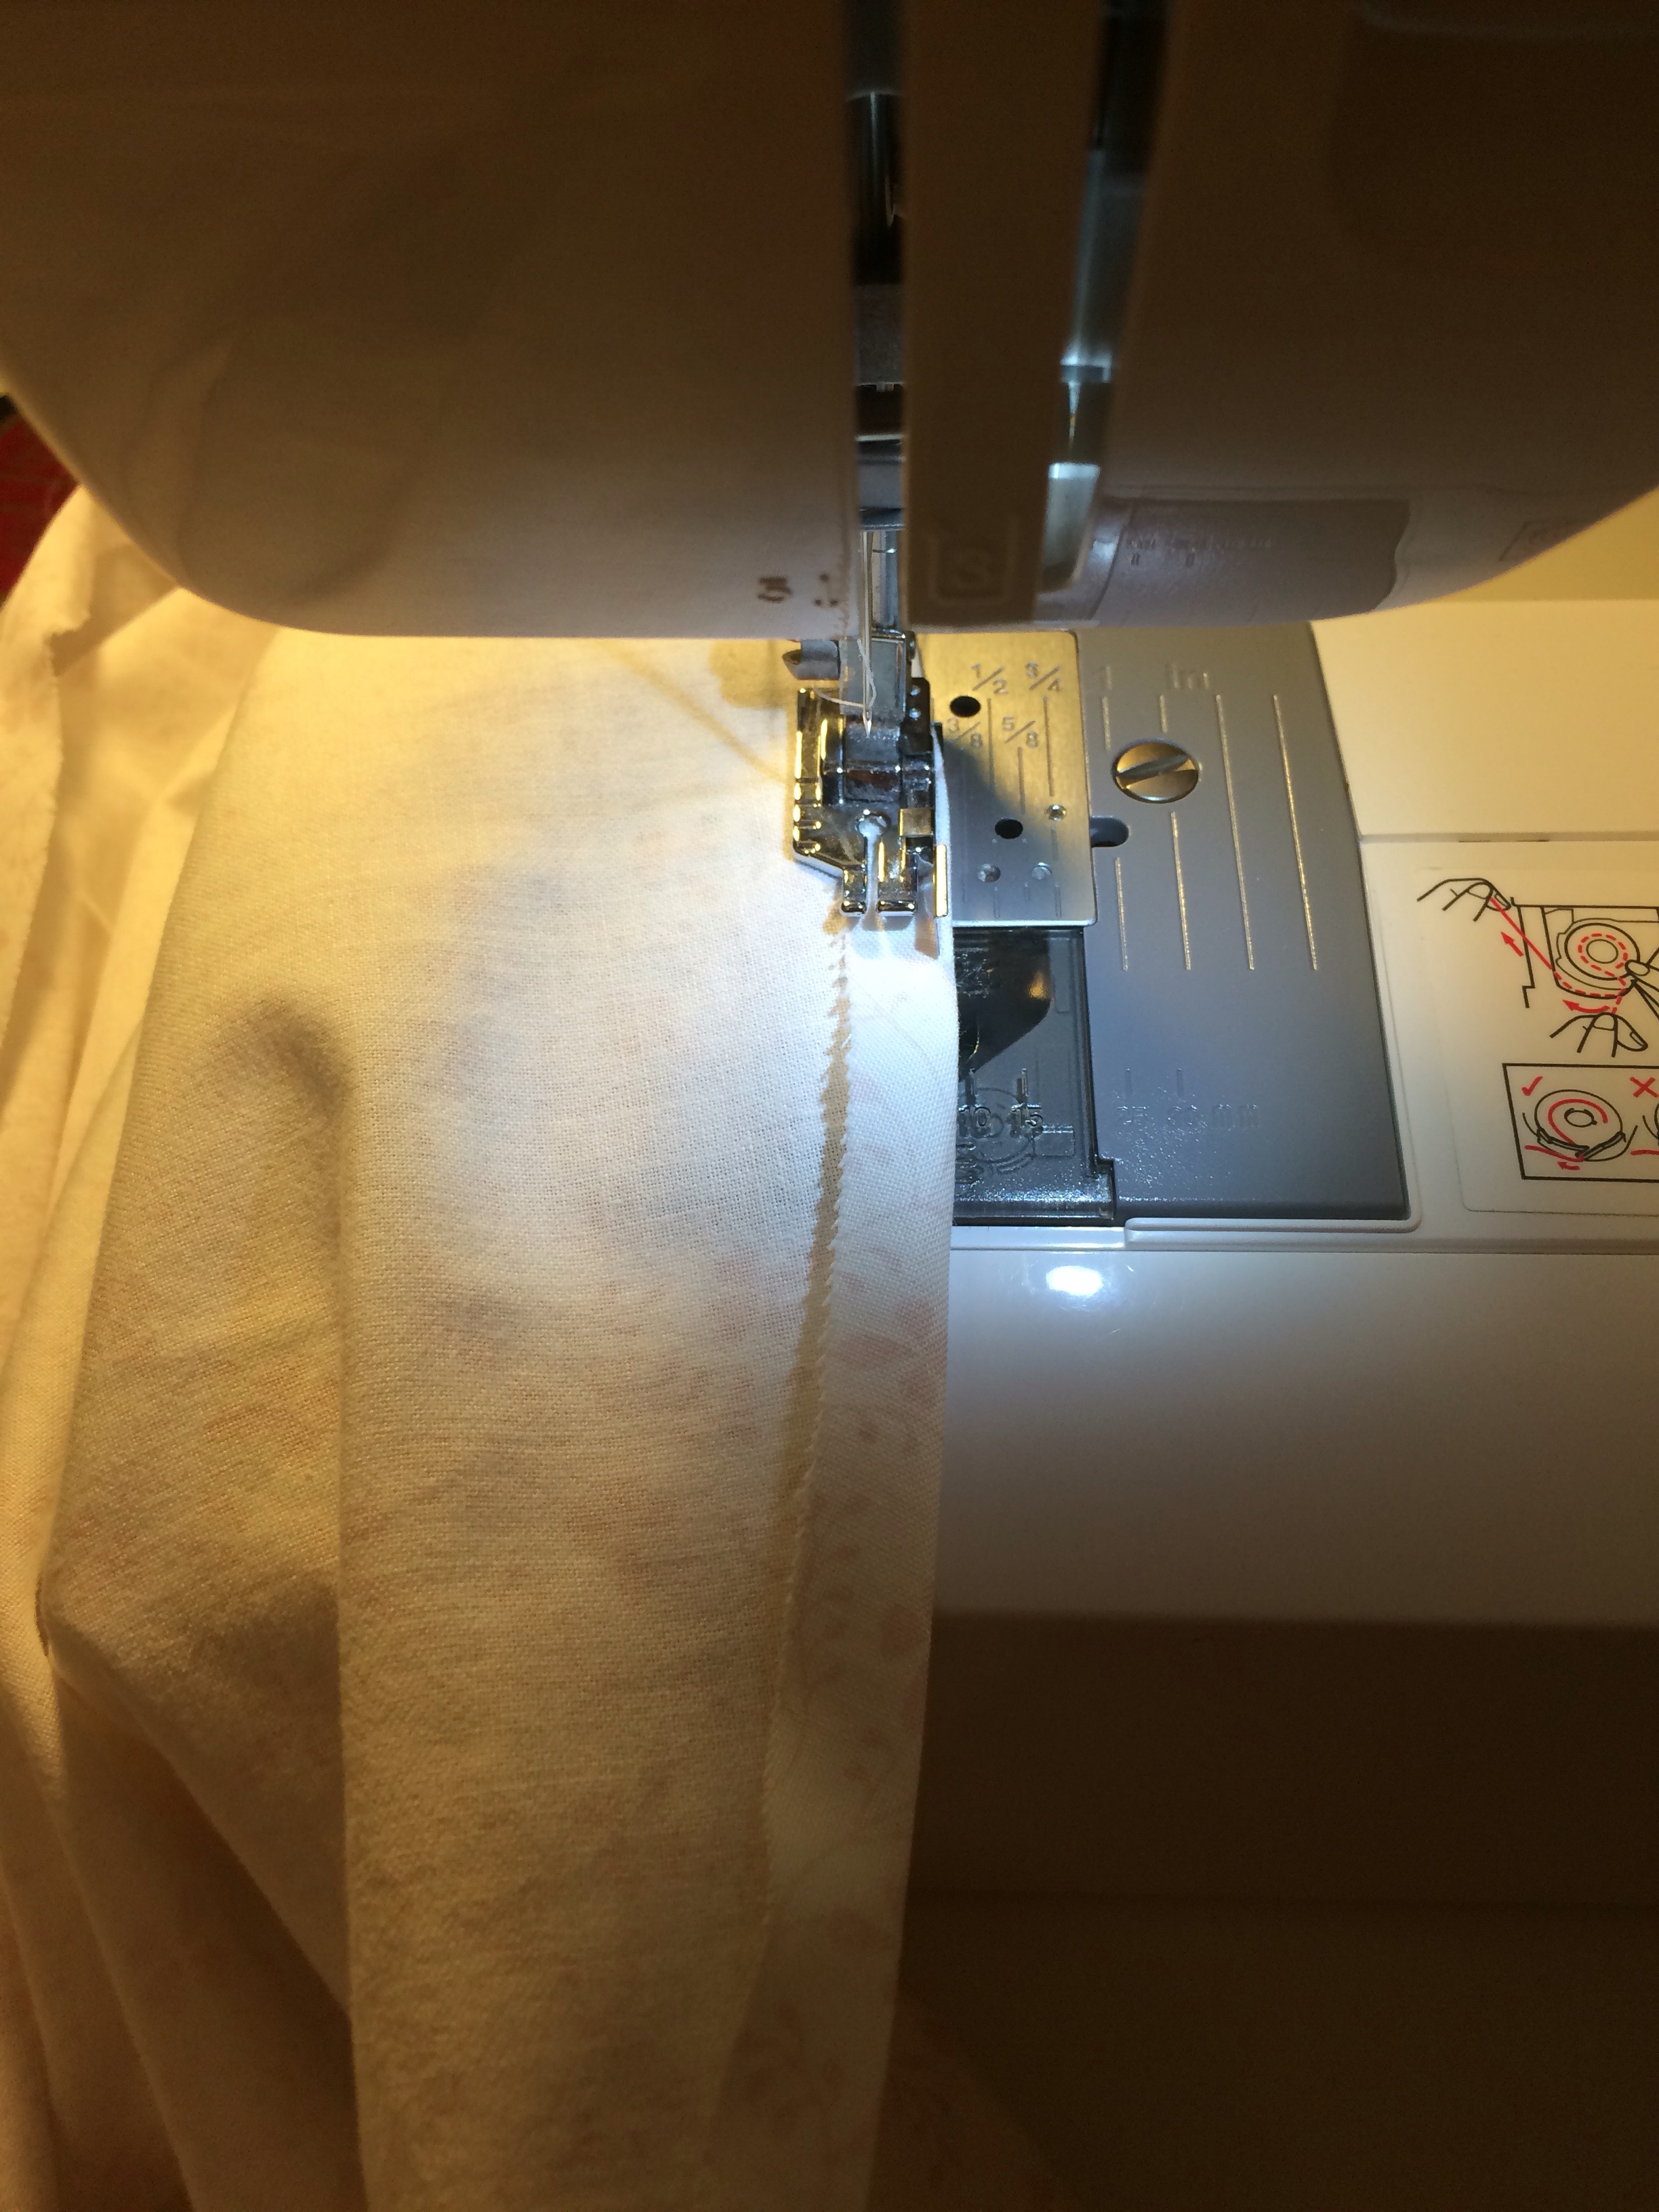
6. To hem the skirt you’ll need to fold a quarter inch all the way around, press with a hot iron, and then another quarter inch to hide the raw edge. I find it easier to pin a small starting section and fold and iron as you go. (On an ironing board not the carpet!) 
7. Sew all around the outer circle. If you have a quarter inch guide foot this will help you keep even stitching. (I only folded my hem once in this picture but wished I’d done two after!)
8. To make the waistband you’ll need to measure some elastic around your waist, where you want your skirt to sit as before. Add an inch to this where you will join the two ends.
9. Overlap the elastic by the inch and sew together as in the picture below, I sewed the box first then the X and just went over the box lines again so I didn’t have to remove the needle. 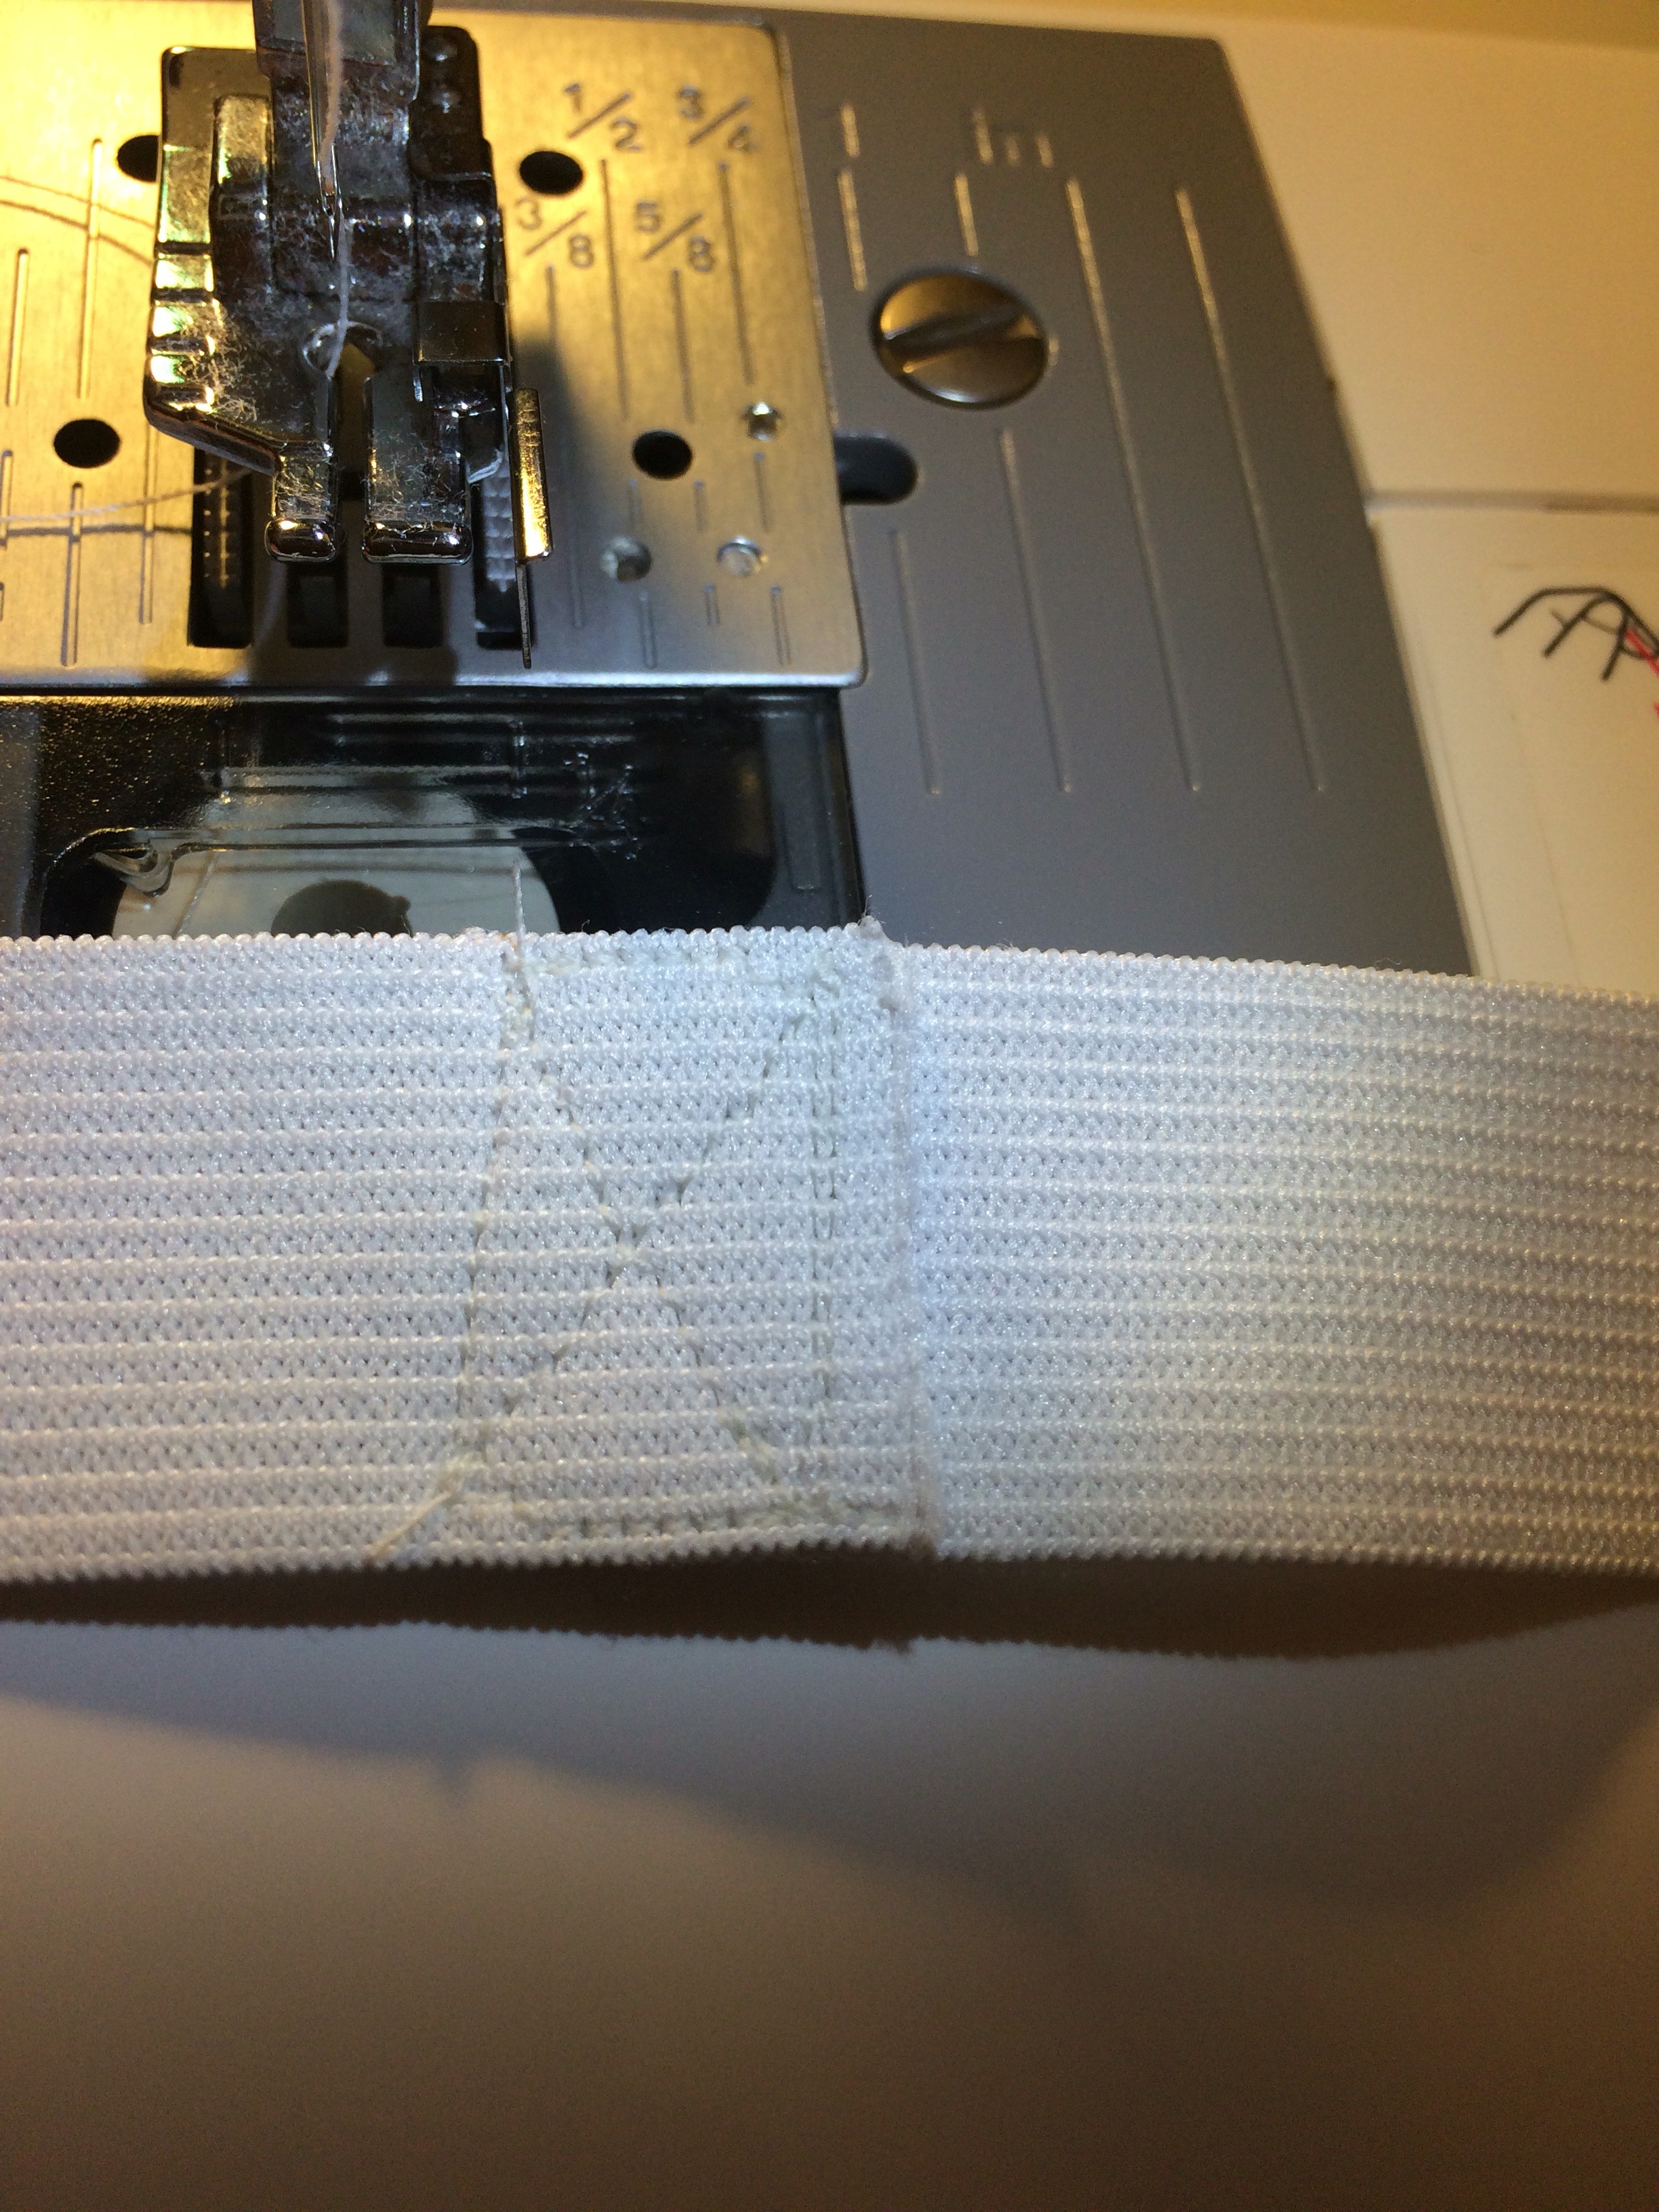
10. Cut a length of fabric the length of your waist elastic measurement PLUS 10cm to allow for the stretch.
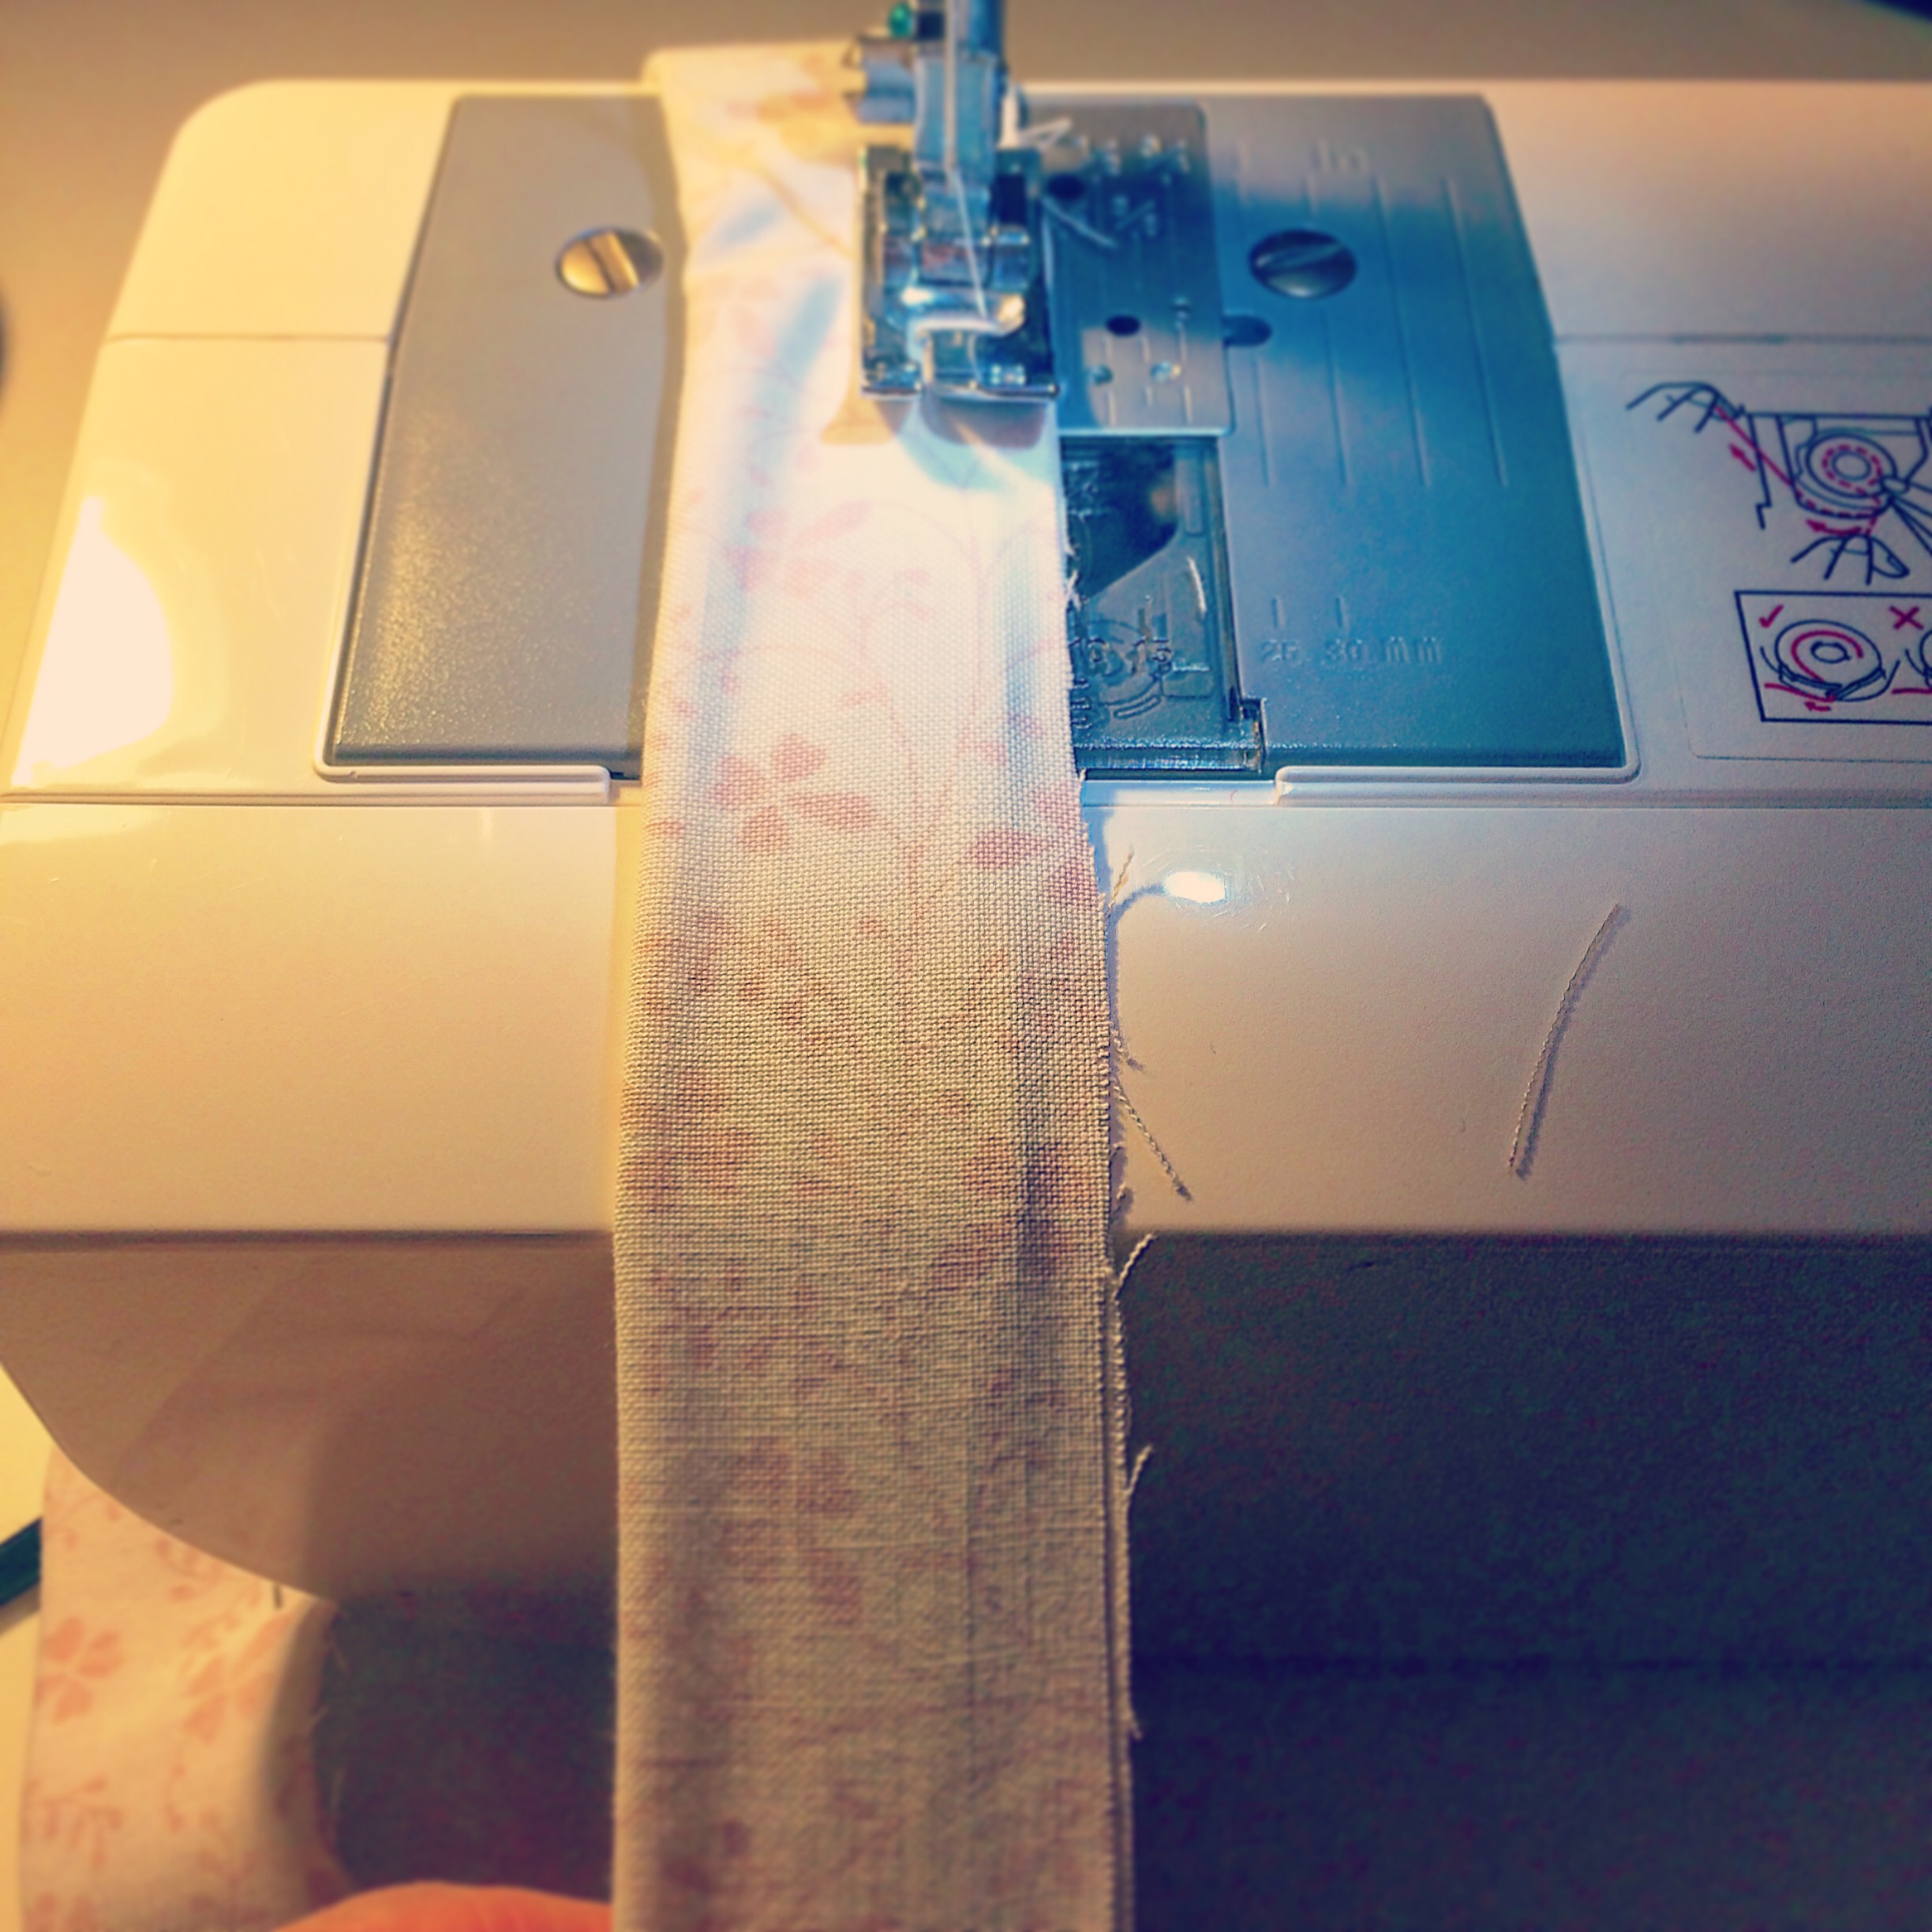
11. Fold the strip in half right sides together so that the two short ends meet. Sew them together 1cm from the edge. Press open the seam. 
12. Lay your elastic around the waistband so that its on the wrong side of the fabric still. Fold it over to encase the elastic leaving material at the bottom to sew it closed. Pull the elastic tight as you pin around it. 
13. Sew the waistband closed with a zig zag stitch. (If you used a guide foot remember to switch your foot back as I bent a needle before not realising you can’t do a zig zag stitch with it on) It helps to sew slowly and gently pull the elastic tight as you go.
14. Now to join the two bits together! Mark 4 corners (I’m aware it’s a circle!) on the waistband and then on the skirt too. See the green pins.

15. Match up the green pins and pin together. Your waistband and skirt should join raw edge to raw edge.

16. I found it easier to pin from the front of the skirt. You’ll find this by laying the skirt out and pinning opposite from the waistband join. Pin towards the back from one side then the other. Any extra material will then be even at the back of the skirt.

17. Sew all around the skirt using a zig zag stitch, slowly and gently pulling the elastic tight.
18. Snip off any loose threads and it’s done!
 The skirt has lovely soft layers to it.
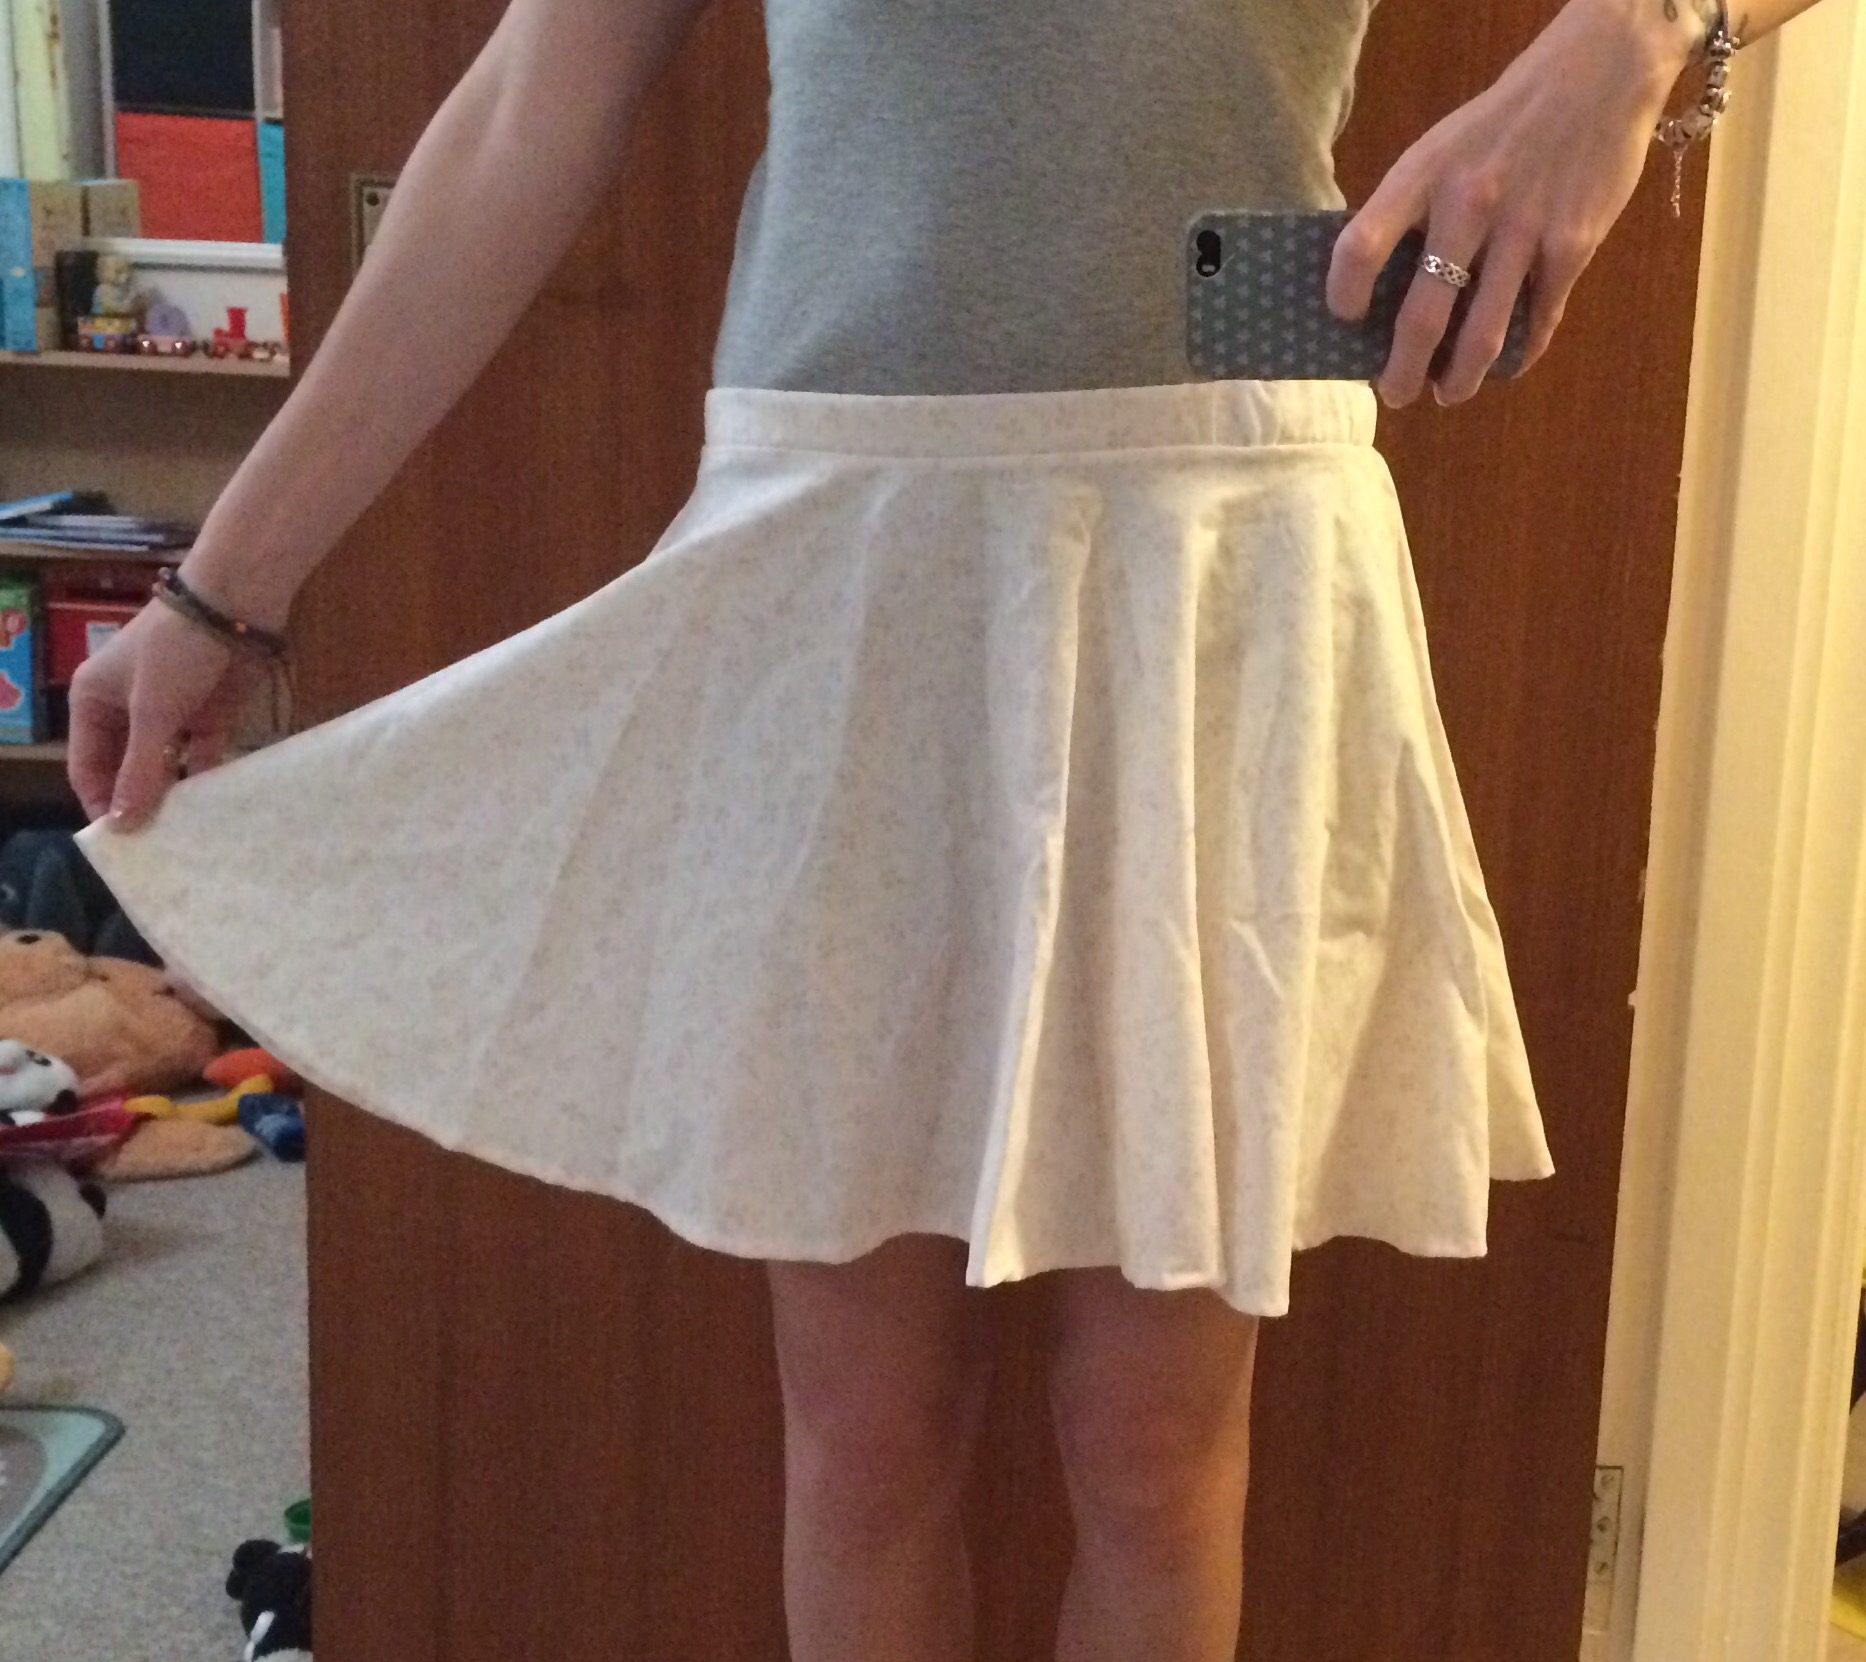
Now all I need it some summer sun to wear it!! ☀️
I might even make our daughter a matching one its so easy.
